
In this section we will examine the visual grid and finish configuring the Global Main Settings of your first Streamable Grid.
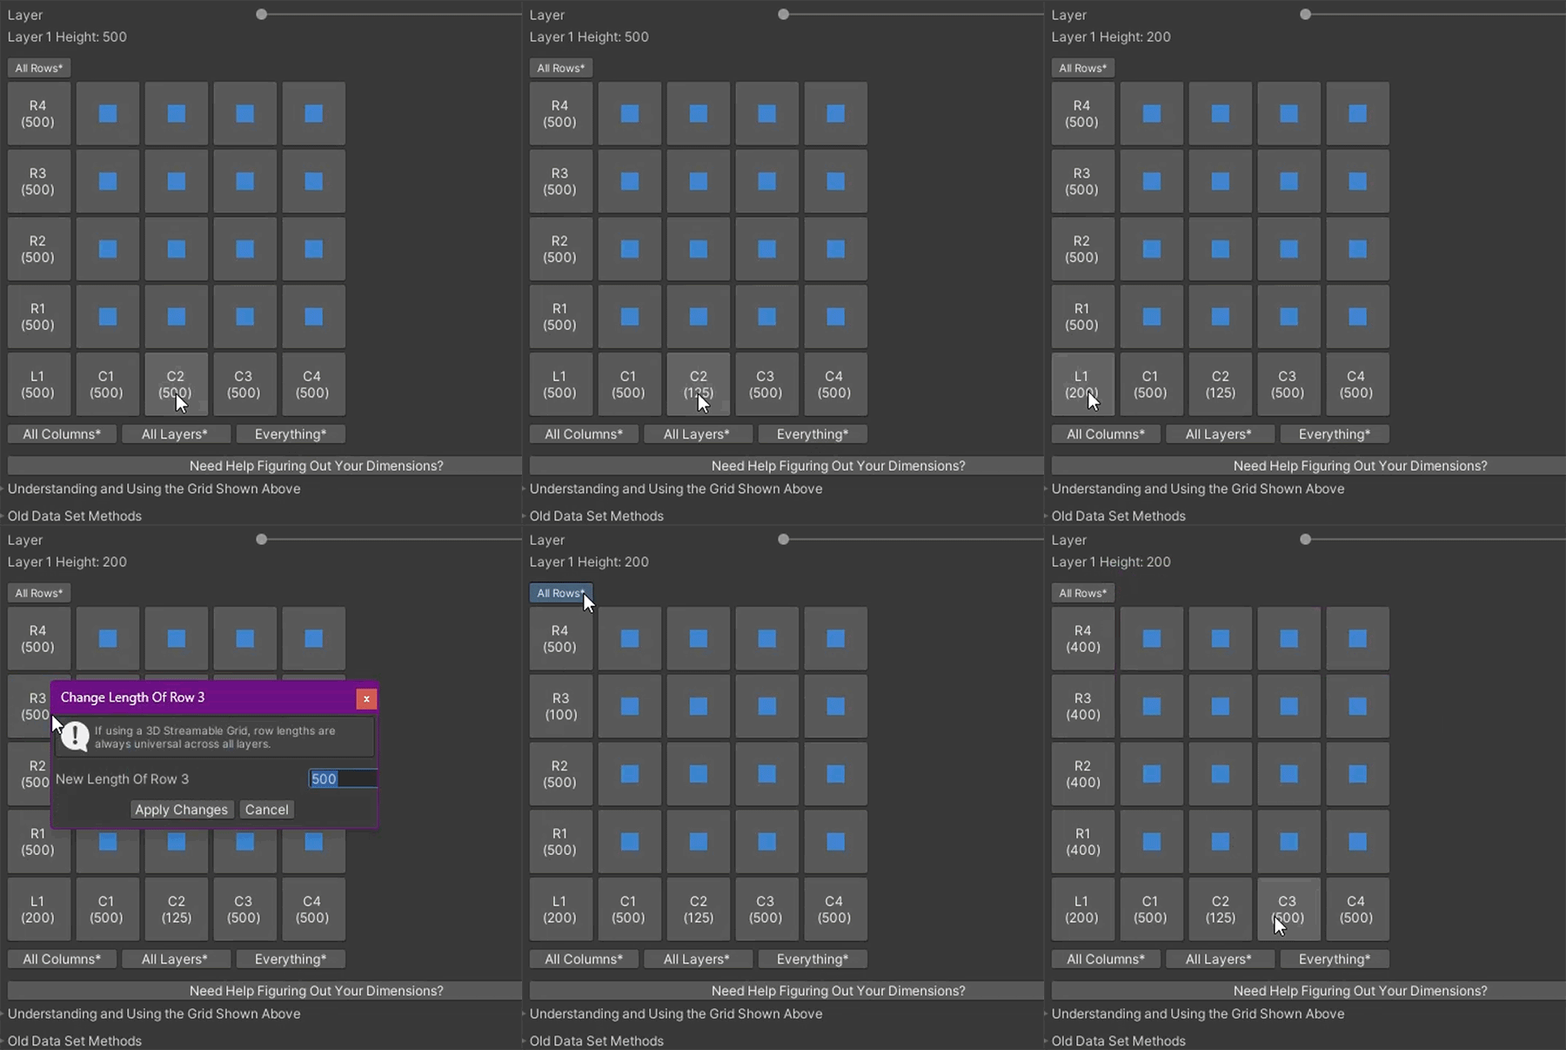
9) Learn how to use the Visual Grid to change Row, Column, and/or Layer dimensions, then make any modifications you think you need at this time (Changing Cell Dimensions Sub-Section).
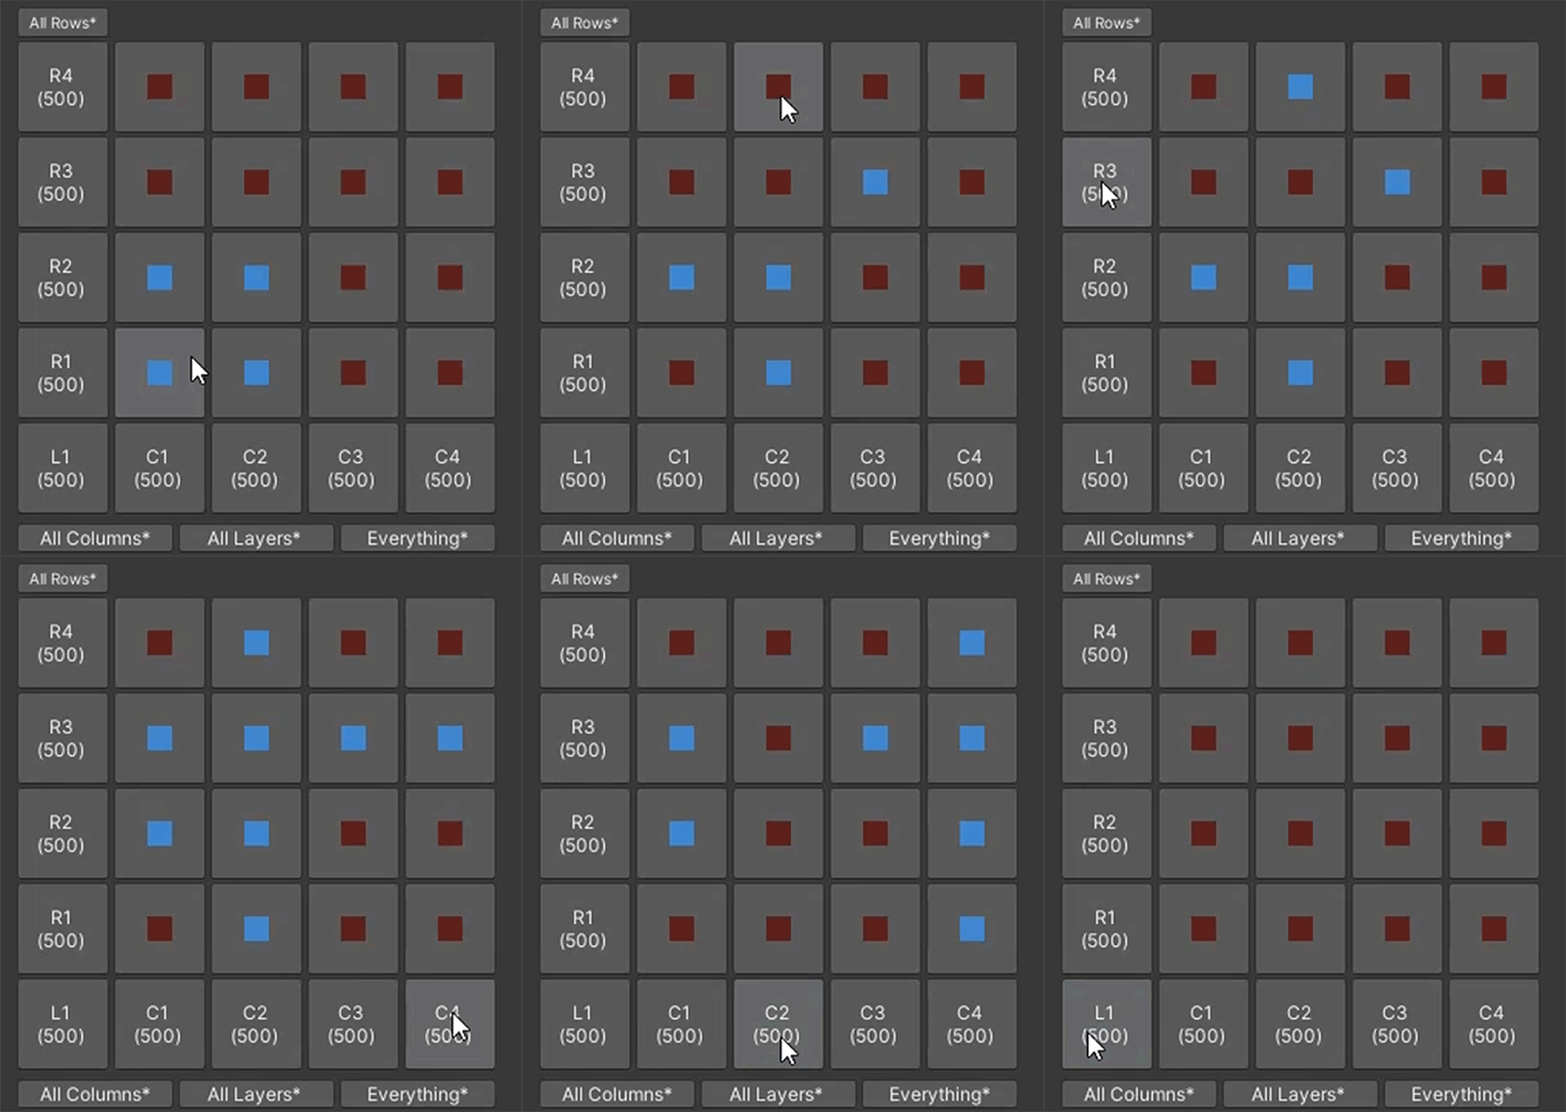
10) Explore the difference between Enabled and Disabled Streamable Cells and learn how to enable and disable them using the Visual Grid (Enabled vs Disabled Cells Sub-Section).
Return To Section Instructions
You can modify the length of Rows, width of Columns, and height of Layers using the Visual Grid. Simply click (with no modifier keys, such as shift, held down) any of the group buttons that surround the visual grid. A new small popup window will appear allowing you to set the dimension of Cells in that Group.
If your Asset Chunks are Terrain or other assets that are intended to fill the entire Cell, you can set these values to the lengths, widths, and (for 3D assets) heights of your Assets.
For a full breakdown of what each of these buttons do, as well as some additional information about the Visual Grid, we encourage you to take a look at the Using The Visual Grid Section.

--Sample Scene Directions--
Each terrain is 1024 x 1024 in size, with a height of 427. As such, the total width of the World will be 2048, the total length 2048, and the total height 427 (since we will only be using a single Layer). Every Streamable Grid should have these dimensions (although note, it is not strictly necessary for the height to match the Terrain height, although it is generally a good idea). As such, you should configure each Grid like so:
1) For the Terrains Grid, left click the Everything button and enter 1024, then press the Enter key or press the Apply Changes button. Then press the L1 (500) button and enter 427. Since there are two Rows and two Columns on this Grid, hopefully it's obvious that the total width and length adds up to 2048.
2) For the Large Structures Grid, change the Row and Column dimensions by clicking the Everything button and entering 256, then press the L1 (500) button and enter 427.
3) For both the Plants and Small Objects Grids, change the Row and Column dimensions by clicking the Everything button and entering 128, then press the L1 (500) button and enter 427.
--MicroVerse Instructions--
If using the 2x2 Demo Scene, each terrain in the scene is 1000 x 1000 in size, with a height of 600. As such, the total width of the World will be 4000, the total length 4000, and the total height 600 (since we will only be using a single Layer). The easiest way to configure your Terrain Streamable Grid with these settings it to left click the Everything button and set the value to 1000. Then left click the L1 button and set the value to 600. Remember that using 600 here is optional; the layer height is not that important when using a 2D XZ Grid.
For the MicroVerse Hierarchy grid, the dimensions of the single cell should be 4000 x 4000 x 600 (or whatever value you used for the layer on your Terrain grid), to match the total size of the World.
If you are using your own custom scene, click on your Unity Terrain to find out the Width, Length, and Height of each one (they should all be the same size). If you are not using Unity Terrain, you can click on the Mesh asset to find out its dimensions.
Return To Section Instructions
Indivdual cells on the Streamable Grid need to be marked as either Enabled or Disabled:
Enabled - Cell has Asset Chunks that should be loaded (Blue square by default).
Disabled - Cell does not have Asset Chunks that should be loaded (Red square by default).
By default new Streamable Grids have all Cells Enabled. You can enable/disable Cells using one of the following actions:
Disable Single Cell - Right Click Cell
Disable Group Of Cells - Hold Shift and Right Click Group Button surrouding Visual Grid.
Enable Single Cell - Left Click Cell
Enable Group Of Cells - Hold Shift and Left Click Group Button surrouding Visual Grid.
Each button surrounding the Visual Grid refers to a specific grouping of Cells. The R# buttons refer to all Cells on that Row. Other buttons include L#, C#, All Rows, All Columns, All Layers, and Everything.

--Sample Scene + MicroVerse Directions--
We are going to use the Scene Conversion Tutorial to assign the Terrain (MicroVerse + Sample Scene), World Objects (Sample Scene Only), and MicroVerse Hierarchy (MicroVerse Only) to Streamable Cells, and for that, it is necessary to start with all Cells Disabled.
To Disable all Cells, hold shift and right click the button that says Everything. Do this for all Streamable Grids now.
Return To Section Instructions
For now, we are going to skip talking about Global Extra Data, as it is not necessary to know about at this time. Of course, you can choose to take a look at this topic now if you wish, however we recommend moving on to the LOD Groups Window and proceeding with the LOD Groups Section.