--Sample Scene Directions--
Steps 11-12 and 15-17 will need to be carried out for each of the four World Groupings! We recommend starting with the Terrains, then processing the Large Structures, followed by the Plants, and finally the Small Objects.
--MicroVerse Directions--
Steps 11-12 and 15-17 will need to be carried out for each of the two World Groupings! Start with the terrains then proceed with the MicroVerse hierarchy.
You may have already done this, but if not, you should set the Grouping To Edit (via the Editing Controls Tab) to the one associated with the Streamable Grid you created during this tutorial (or alternatively, the one created during the Getting Started Tutorial). This will usually be the Grouping related to your Terrain or Ground content.

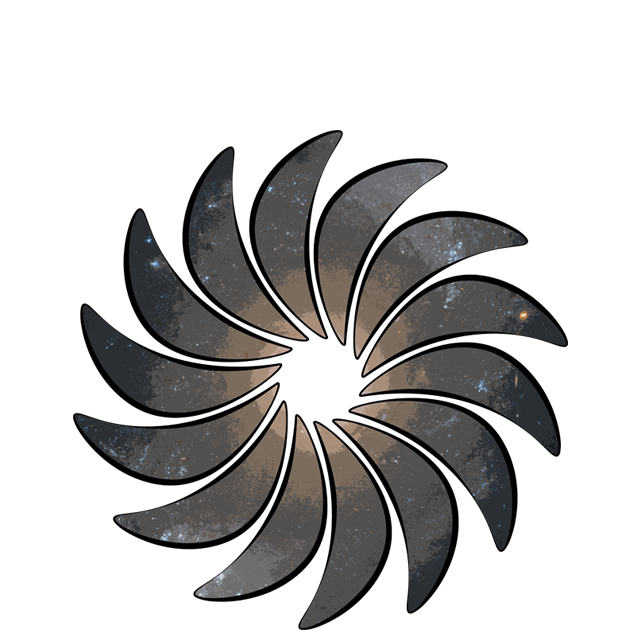
Identify the Cell Color Key area of the Editing Controls Tab (you may need to expand the World Designer Tool window vertically to make it more visible).
For each LOD Group you have defined on your Streamable Grid, you will see a matching area in the Key (Loaded LOD 1, Loaded LOD 2, etc.).

If you see a button that says Cannot Edit: Why? it means the LOD Group is either misconfigured or incompatible with the World Designer Tool. To see why, you can click this button, which will print the details to the Console Log.
Otherwise, you will see five small buttons next to each LOD, which are:
L*: Left click to Load the Asset Chunks for the LOD, for all selected Streamable Cells. Right click to load the Asset Chunks for the LOD, for all selected Cells, plus overlapping Cells on Chained Groupings.
U*: Left click to unload any Asset Chunks (only for the LOD), for all selected Streamable Cells. Right click to unload the Asset Chunks for the LOD, for all selected Cells, plus overlapping Cells on Chained Groupings.
A*: Assigns game objects in the scene to the LOD Group (selected Cells do not matter).
T*: Transfers all child objects belonging to Asset Chunks for the LOD Group (and only selected Cells) to a target World Grouping and LOD Group.
E*: Evaluates Asset Chunks belonging to this LOD Group (and selected Cells).
This tutorial is only focused on the Assignment Operation. If you are interested in any of the other operations, please take a look at the World Designer Tool Chapter, which has information on Loading & Unloading Streamable Assets, Transfer Operations, and Evaluation Operations
This option is now defined globally per World via the Evaluate tab in the Operation Settings window, when Simple is selected as the Organization Method.
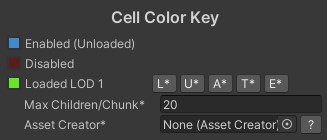
This field tells the Tool the maximum number of child objects to place under each Asset Chunk when performing Evaluate Operations (which are performed automatically during an Assignment Operation).
When using Multi-Chunking, this field is very important, as it will ultimately determine how many Asset Chunks will be created for each Streamable Cell. The number of Asset Chunks you use should always be balanced. While the single frame performance cost of activating/deactivating and loading/unloading Asset Chunks can be reduced by using more Asset Chunks, more Asset Chunks can lead to more game objects being in the scene (which can increase RAM usage and CPU processing in some cases), longer Advanced Operation completion times, and longer Player Builds.
To start, we recommend aiming for a value that will result in 1-5 Asset Chunks being created per Streamable Cell, though it is normal for some parts of the game world to be denser, which might lead to more Asset Chunks for some Cells. You can also explore the other Organization Methods, however in most cases the Simple method works best.
--Sample Scene + MicroVerse Directions--
We have not enabled Multi-Chunking for any of the Streamable Grids created, so you will not see this setting for any of the Groupings.
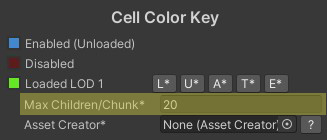
Asset Creators handle the automatic creation of Asset Chunks. SAM includes a Default Asset Creator class that will work for a majority of users, however you are also free to create custom Asset Creators if needed.
Each Default Asset Creator asset is capable of outputting the assets it creates to specific sub folders according to the Zone, Grouping, and/or LOD Group that the Asset Chunks is being created for. This means you should only need one Default Asset Creator in most cases.
For now, you can probably get away with using a single Default Asset Creator, however you still need to assign it to each LOD Group that you want to create Asset Chunks for (across all Zones and Groupings).

To create a Default Asset Creator, right click the folder where you want it to be placed and choose Create -> Deep Space Labs -> SAM -> Default Asset Creator.
Always remember that the type of assets the Creator creates should match the Chunk Streamer in use by each LOD Group. For instance, if an LOD Group is using a Prefab Chunk Streamer, the Asset Creator for the LOD Group should generate prefabs at the very least. The generated assets also need to be loadable by this Chunk Streamer. For instance, if a Prefab Chunk Streamer is expecting prefabs to be in a folder called Resources/VegetationPrefabs, your Asset Creator should be configured to generate the prefab assets in that folder. When configured to create both prefabs and scenes, you should set the Primary Assets setting according to the type of Chunk Streamer you are using!
If you need additional help configuring your Default Asset Creator, please take a look at the Default Asset Creator Section within the Scriptable Assets Chapter.
We suggest giving each Asset Creator asset you create a unique name, to help differentiate it with other Asset Creators. After configuring the Asset Creator(s) assign it/them to the LOD Groups you plan on assigning game objects to.
--Sample Scene + MicroVerse Directions--
To make things simpler, we suggest creating just a single Default Asset Creator for use with all Groupings. Since the Sample Scene is configured to use a Chunk Streamer, you can configure this Asset Creator's Asset Creation Mode to use either the Prefabs_And_Scenes (with Primary Assets set to Scenes) option or the Only_Scenes option (we recommend the latter option for simplicities sake).
Whichever option you choose, be sure to set the Save Folder's (the easiest way is to click the folder on the left half of the Project Hierarchy and then use the Copy Selected Folder button), and be sure to leave the Add To Build Settings option enabled.
Enable the 'Output To LOD Group Specific Sub Folder' option to achieve better project organization.
After creating the Default Asset Creator, assign it to each LOD Group's Asset Creator field (do this for every Grouping).
The Scene Conversion process uses the Assignment Operation (A* button) to assign game objects in the scene to Asset Chunks belonging to a particular LOD Group on a particular Streamable Grid, according to which Streamable Cells those objects fall in (based on their world position).
The Streamable Grid the objects are assigned to always belongs to the current Grouping To Edit, while the LOD Group is always the one who's A* button was pressed.
During each Assignment Operation, Asset Chunks may be automatically created by assigned Asset Creators and destroyed by the Asset Manager associated with the LOD Group's Chunk Streamer. Additionally, during the operation the Grouping's underlying Streamable Grid asset may be modified to enable and disable Cells, or to change the number of Chunks used by a Cell.
Developers working in a team based workflow that uses a version control system should keep this in mind, as they may need to check out or reserve any Streamable Grid assets that may be modified during the Assignment Operation.