
Here we highlight some of the most common settings you may want/need to change on the World component before running loading your scene for the first time. Please remember, for a detailed breakdown of the World take a look at the Worlds Chapter.
24) If you'd like an endless world, enable the Use Endless ... options for the axes you wish to be endless (Endless Settings Sub-Section).
25) Choose your World Grid Dimensions (World Dimensions Sub-Section).
26) Determine if you want to use a Fixed or Floating Origin based World, then configure the World Origin and World Origin Cell (Origin Settings Sub-Section).
27) If using a Floating Origin based World, explore and configure additional floating origin related settings (Origin Settings Sub-Section).
28) If using Terrain, navigate to the Groupings tab, then click on the # Grouping Name tab that corresponds with your Terrain, and then finally the Grouping Overrides tab. Enable Override Default World Activation Settings as well as Override Default World Deactivation Settings, make sure the Auto Activate/Deactivate Chunks When Adding/Removing Cells options are enabled, then set the Max Chunk Activations/Deactivations Per Frame values to 1.
This ensures only one Terrain game object is activated/deactivated per frame, which is usually a good idea. Any other Groupings you add will use the Default Activation/Deactivation settings, which are configured to activate/deactivate up to 10 objects per frame by default (feel free to change this), unless overridden on a per Grouping or per LOD Group basis (Overridable Settings Sub-Section).
29) Assign the Streamable Grid you created in Step 3 to Zone Grouping 1 (Zone Groupings Sub-Section).
Return To Section Instructions
The Endless World Settings in the General Settings tab allow you to make one or more of the World's Axes endless. An endless axis will repeat in both the positive and negative direction, which simulates the effect of a spherical world.
You can find more detailed information in the Endless Or Fixed Section within the Worlds Chapter.
--Sample Scene + MicroVerse Directions--
For the Sample Scene, you should be able to use an Endless World with endless rows and columns without issue. MicroVerse has not been fully tested with Endless Worlds. While some modules should work fine (Roads for instance), we cannot gaurantee compatibility with all modules at this time.
Return To Section Instructions
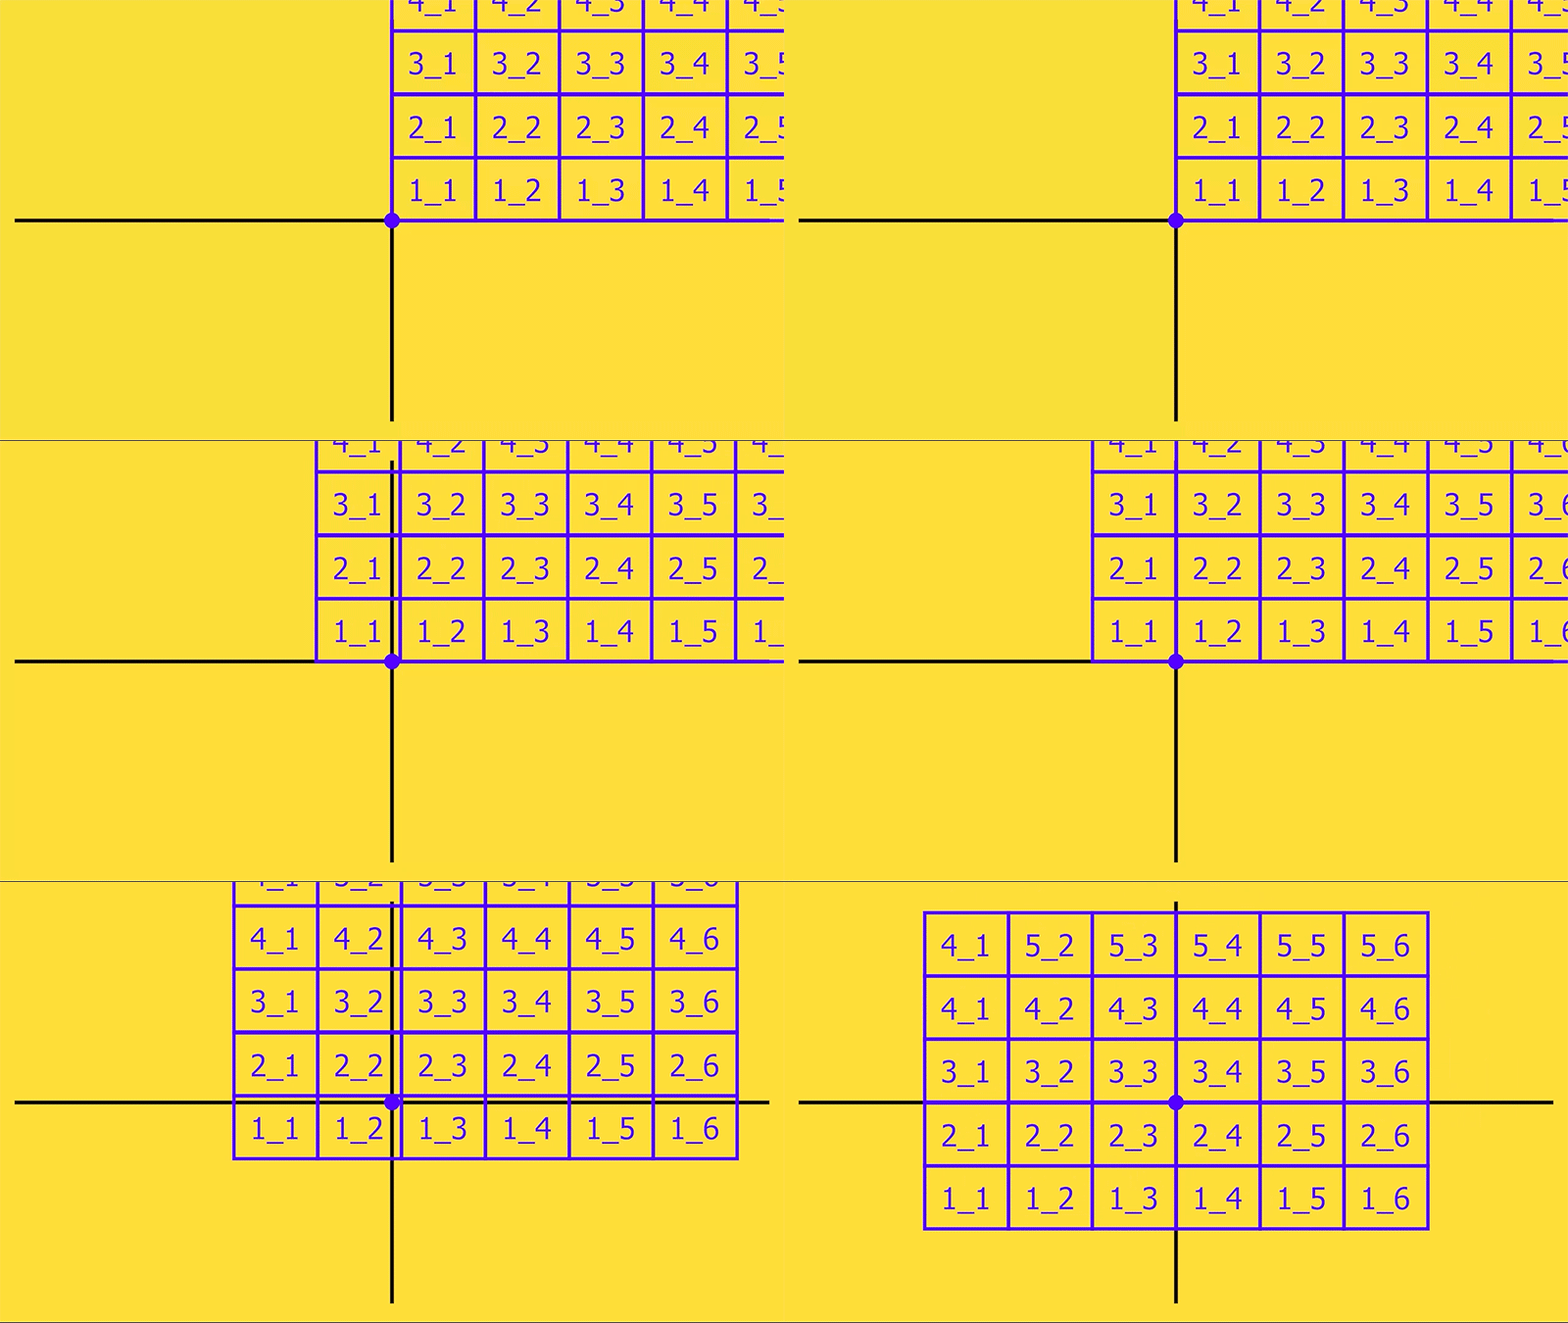
The World has an imaginary grid (The World Grid) which is used to configure the layout of Zones and implement the Floating Origin Based System that SAM uses.
If you just created this World, it will likely have dimensions of 128 for each Axis, which is generally a good starting value. With that said, we encourage you to explore these settings in more detail and dial in the dimensions perfectly near the start of your development cycle, so at some point soon you should take a look at the Dimensions And Gap Cells Section in the Worlds Chapter.
--Sample Scene Directions--
To make things easier, adjust the World Grid Row Length and Column Width values to be equal to the Terrain length/width, which is 1024.
--Sample Scene Directions--
Change all dimensions to 100, as this value divides the world size (4000 x 4000 x 600) evenly on each axis. This will ensure that if you decide to experiment with an Endless World later, the world will repeat exactly along the terrain borders.
Return To Section Instructions
The Origin Position is the location in the scene where the Origin Cell is placed, and serves as the focal point around which your content is loaded. By default, the Origin Position of the World is taken from the Transform Position of the World Game Object. You can adjust the Transform Position to change this Origin Position, or you can disable the Use this Game Object's Position as World Origin Position option and specify an Origin Position manually.

A value of (0,0,0) can usually be used, however in some situations you may wish to offset the Origin Position in the negative direction to make the Origin Cell or World balanced (symmetrically centered over 0,0,0), which will increase the chance that the same amount of content will be loaded in every direction and axis.
The Origin Cell defines which Cell from the imaginary World Grid will be placed at the Origin Position when your game starts (i.e., entering Play Mode or in builds). While you are free to manually assign whatever value to the Origin Cell you wish, we recommend using Game Start Configurations instead in conjunction with the World Designer Tool.

For a more detailed look at the Origin Settings and using a World with a floating origin, you should take a look at the Origin And Relativity Section within the Worlds Chapter.
--Sample Scene + MicroVerse Directions--
The Origin Position will need to be adjusted during the Scene Conversion Process, so whatever value you decide to use, make a note of it now! Using an Origin Position of 0,0,0 is ideal for the Sample Scene and MicroVerse 2x2 Demo scene, as the terrain groups are 2x2 and 4x4.
Using 0,0,0 will allow the terrain group to fill the scene equally in every direction. As such, you can leave the Use this Game Object's Position as World Origin Position setting enabled. Do not worry about the Origin Cell at this point, as this will be set using a Game Start Configuration created using the World Designer Tool later.
Return To Section Instructions
At this time it should not be necessary to adjust any of the Overridable Settings (found in the tab of the same name), however in the future you most likely will wish to adjust one or more of these settings, so it's important to understand how overridable settings work in the context of the World component.
You can find more detailed information in the Overridable Settings Section within the Worlds Chapter.
Or if you enjoy visual aids, you can take a look at this helpful PDF to learn more:
Return To Section Instructions
The World contains a single Zone and World Grouping by default. You can add more, but for now a single Zone and Grouping should suffice (unless using the Sample Scene or MicroVerse, in which case see instructions below).
Zones serve as a way to layer different Streamable Grids which are meant to occupy the same physical game world space together, while Groupings allow you to categorize content and adjust load settings for said content according to whatever criteria you wish. For a more detailed breakdown, see the Zones And World Groupings Section of the Worlds Chapter.
Each combination of Zone and Grouping forms a Zone Grouping and corresponds to a single Streamable Grid asset.
At this time, you should assign the first Streamable Grid asset you created earlier to Zone 1, Grouping 1's Streamable Grid field.
If you add more Zones and/or Groupings later, remember these things:
1) All Streamable Grids on a World (across all Zones/Groupings) must either all use 2D XY Axes, or all use a combination of 2D XZ and 3D Axes.
2) Streamable Grids assigned to different Zones but for the same World Grouping must always use the same Axes type.
3) Streamable Grids on the same Zone are always positioned at the Zone's position. This means the minimum point of each Streamable Grid will align with the minimum point of all other Streamable Grids that are part of the same Zone.
4) Streamable Grids on the same Zone do not need to have the same dimensions or number of rows/columns/layers.
5) World Cells are always loaded in order according to how Groupings are ordered in the World inspector. This means cells that are associated with World Grouping 1 are always loaded before cells from any other Grouping, assuming an operation includes load requests for both Groupings' cells. Conversely, Cells are unloaded in reverse order.

This allows you support dependencies between Groupings. For instance, in the GIF below the terrain might be on Grouping 1 and the Boulder on Grouping 2. Because Grouping 1 Cells are always loaded before Grouping 2 Cells and Grouping 2 Cells are unloaded before Grouping 1 Cells, we can guarantee that the boulder will never fall through the World!

More information can be found in the Zones And World Groupings Section within the Worlds Chapter.
--Upgrade Note--
In the Terrain Slicing & Dynamic Loading Kit, there was not great way to separate Assets into discreet groups. This resulted in many users just placing everything as children of their base terrain.
While you are free to continue with this strategy, we implore you to consider splitting Assets up into separate World Groupings and (possibly) Zones. Besides granting more performant loading (in a majority of cases), you also gain access to unique per Grouping settings, Cell Visual Transition Controllers (if you wish), World Grouping Listeners, and more.
You can use the Assignment Operation of the World Designer Tool to transfer these assets from the Terrain to separate Asset Chunks that can be used by the World Groupings.
--Sample Scene Directions--
As stated in the scene notes, we encourage you to use four World Groupings for this scene. Currently the World only has a single Grouping, which will be used for the Terrains. Go ahead and add three additional Groupings using the Add World Grouping button.
You should have already created four Streamable Grids to be used with these Groupings. If you haven't already, assign the Terrains Grid to Zone Grouping 1, the Large Structures Grid to Zone Grouping 2, the Plants Grid to Zone Grouping 3, and the Small Objects Grid to Zone Grouping 4. Remember that all of these Streamable Grids are assigned via the Zone 1 tab within the Zones tab of the World (this differs from previous version of SAM, where Streamable Grids were assigned via the Groupings tab).
One additional adjustment is needed to the Grouping 1. Currently, the World is configured (via the Overridable Settings tab) to activate and deactivate up to 10 Asset Chunks in a single frame. While this should work well for Groupings 2-4, it could be problematic for Grouping 1, as activating Terrain can be a heavy operation.
To fix this, select Grouping 1 (via the Groupings tab) and then click on the Grouping Overrides sub-tab. Enable both the Override Default World Activation Settings and Override Default World Deactivation Settings, then change both Max Chunk Activations Per Frame and Max Chunk Deactivations Per Frame to 1. This will ensure that no more than 1 Terrain is activated or deactivated in a single frame.
Save the scene before proceeding.
--MicroVerse Directions--
Add an additional World Grouping (via the Groupings tab) to represent the MicroVerse Hierarchy content.
Navigate back to the Zone 1 sub-tab via the Zones tab. You will now see an additional Zone Grouping. Assign the MV Hierarchy grid you created earlier to the Streamable Grid field.
One additional adjustment is needed to the Grouping 1. Currently, the World is configured (via the Overridable Settings tab) to activate and deactivate up to 10 Asset Chunks in a single frame. While generally this will work well (and will work well if you add additional content later), for terrains it will usually cause performance issues.
To fix this, select Grouping 1 (via the Groupings tab) and then click on the Grouping Overrides sub-tab. Enable both the Override Default World Activation Settings and Override Default World Deactivation Settings, then change both Max Chunk Activations Per Frame and Max Chunk Deactivations Per Frame to 1. This will ensure that no more than 1 Terrain is activated or deactivated in a single frame.
Note that for the MV Hierarchy, only one Asset Chunk will ever be activated so this setting is not important.
Save the scene before proceeding.